


Just like our bodies, our fruit and vegetable gardens need nutrients to grow, such as nitrogen and phosphorous. Sure, you can purchase countless fertilizers and amendments at the store, including fish fertilizer (one of my favorites). However, there’s a simple, easy and very effective resource that’s absolutely free and you can start making it at home today: compost.
When you think of compost, your mind may drift to big piles of very smelly manure combined with rotting vegetable scraps. You might think that composting is something only to be done on a farm, but in reality it’s pretty simple. If you have a little space, it’s easy to start a pile and in just a few months when your compost is ready, your tomatoes (and taste buds) will thank you for your hard work.
What Exactly is Compost?
First, what is compost and why is there no substitution for it in your garden? According to Rodale’s Basic Organic Gardening: A Beginner’s Guide to Starting a Healthy Garden, “Compost making involves controlling the natural process of decomposition to make it happen more quickly and with more predictable results.” Compost provides plants with the optimum nutrition they need, completely naturally, while keeping your costs down (no need to go out and buy bags of the stuff). All you need is air, water, carbon and nitrogen!
There are two types of composting: hot or cold. The easiest route is cold composting, in which you simply take yard waste, place it into a pile and then wait 6-24 months for good compost material. If you can’t wait that long, you can try hot composting and create great material in just 2 months. Since the first option is super simple, the below guide is for creating your very own hot compost.
Step-By-Step Guide to Building Your Own “Hot” Compost Pile
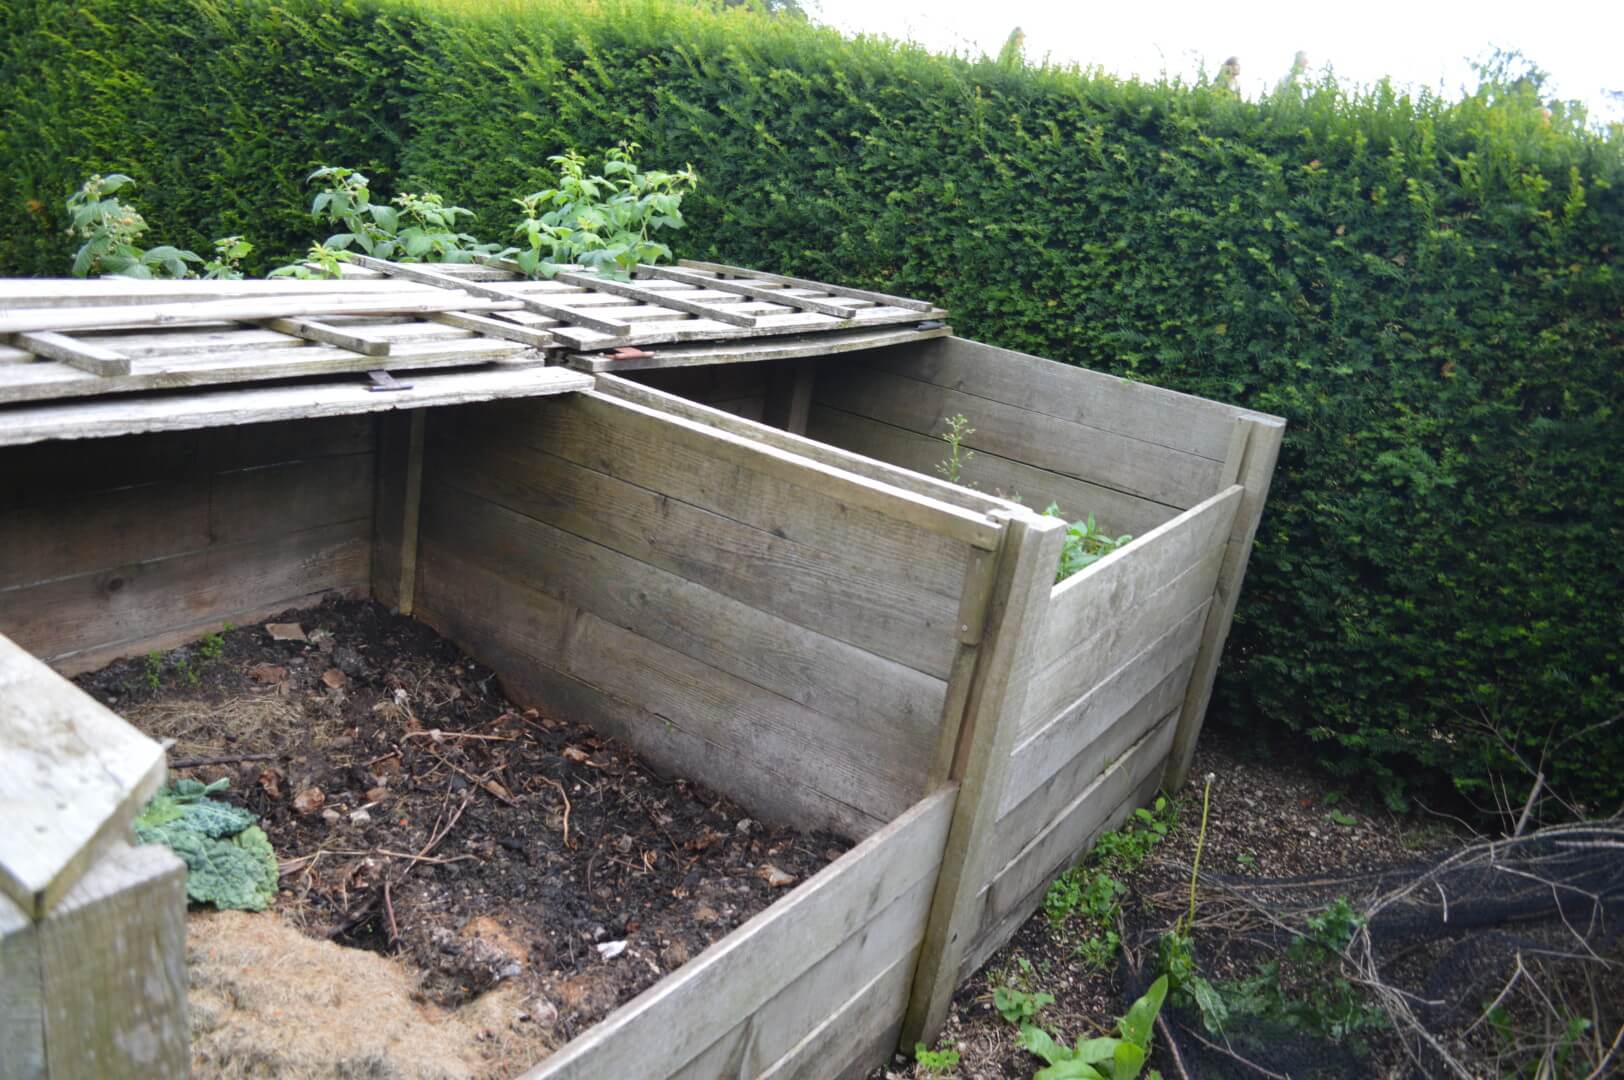
- Start by picking an area for your compost pile (or a rotating compost bin which is a great option for some because it makes turning the compost easier, but it also keeps pets and other animals out). Make it easily accessible to your garden so that you’re not hauling dirt from one side of the yard to the other. If you’re creating a pile without a bin, make sure it’s at least 3x3x3 feet, which will allow the pile to decompose. In the winter, you’ll want to keep your compost pile insulated with the help of straw bales, trap or bags of leaves.
- Using enough material brown and green to take up about 27 cubic feet, start by spreading a layer of course, dry “brown” materials (aka your carbon sources that provide energy for the microbes to break down the compost) including straw, leaves, dead flowers and shredded newspaper on the bottom of your pile. Using a lasagna layering approach, top this brown layer with several inches of “green” (aka your nitrogen sources that help your organisms grow and reproduce) that includes vegetable scraps such as onion and potato peels, coffee grounds, grass clippings and vegetarian animal manure. Top your green layer with a thin layer of soil, then another layer of “brown.” Moisten the pile then continue until it is about 3-feet high, layering 3:1 brown to green. Make sure your kitchen scraps are no more than an inch in diameter, which will help the microbes work faster. Important note: never include meat, dairy products, oils or diseased plants or weeds, as they are slow to decompose and could contaminate your pile.
- Every couple of weeks, use a shovel to move the center of the pile to the outside and the outside layer to the inside. You’ll notice steam rising from the pile, which is a result of decomposition. The optimum temperature for an active compost pile ranges between 135 to 140 degrees F, which kills off weed seeds and any organisms carrying disease.
- You’ll know your compost is ready when it smiles like fresh earth and is dark and crumbly. Be sure to wait until your compost is ready to avoid injuring your plants.
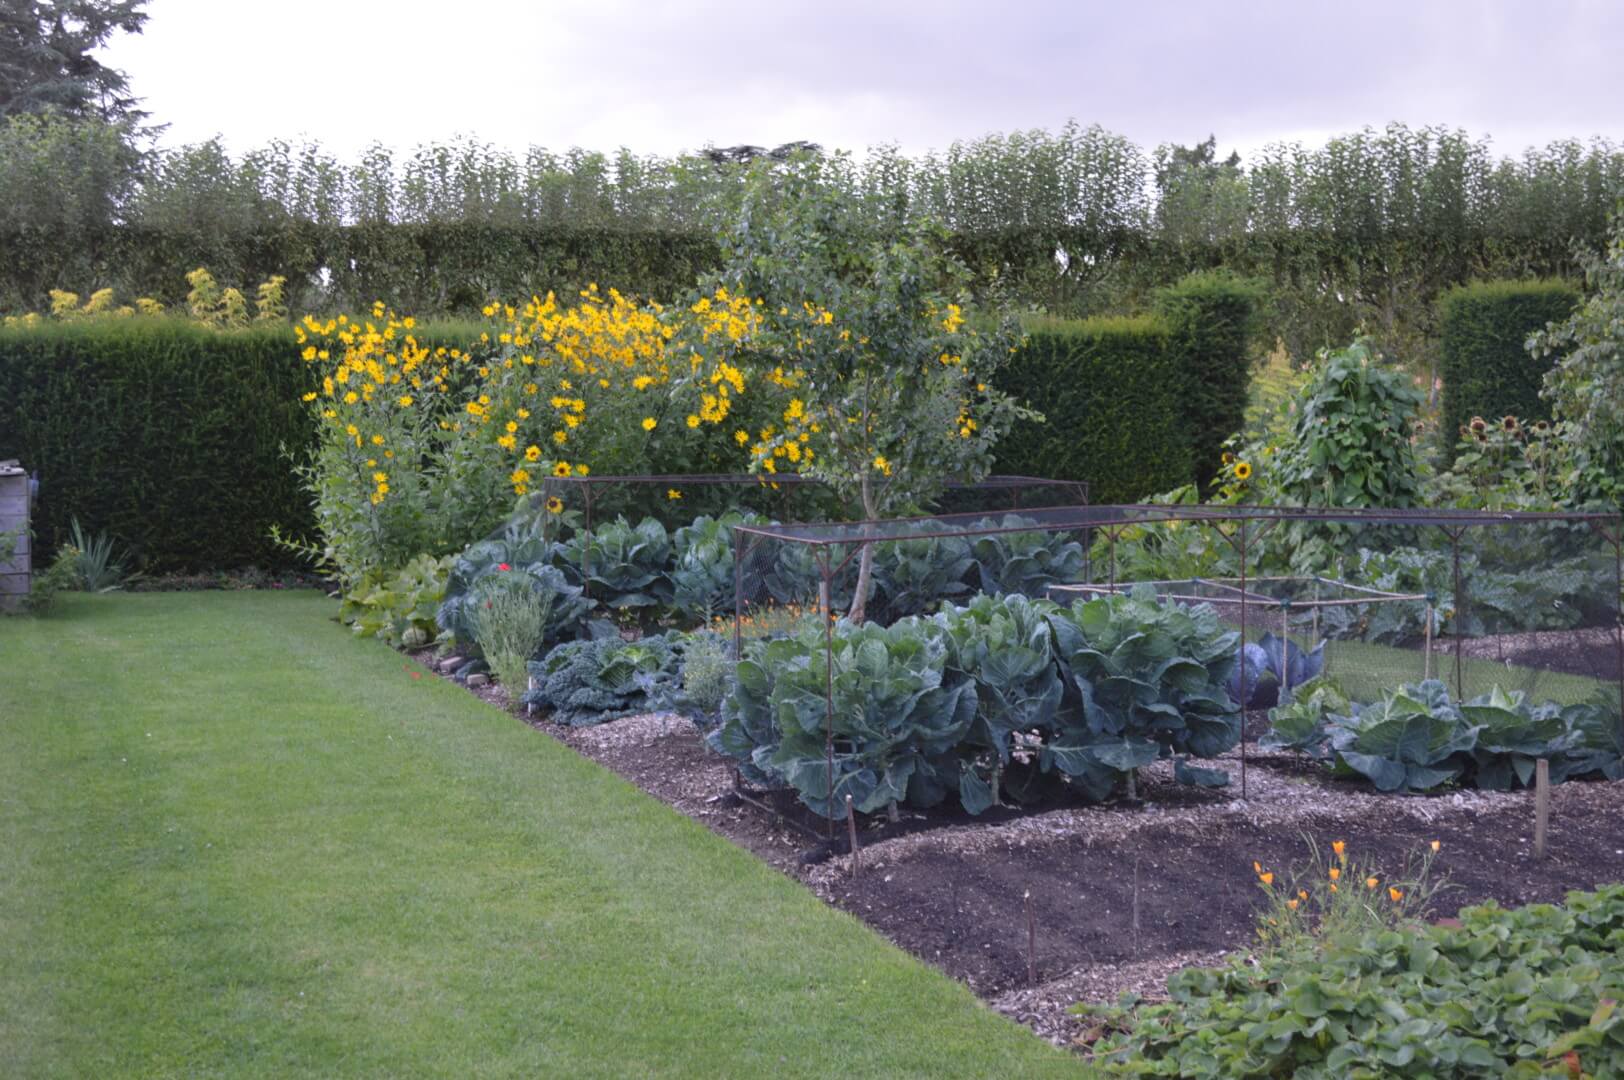
All that’s left now is to add the compost to your garden. You can feel good about what you’re adding, knowing it came from your backyard and your kitchen, and you also reduced waste in the process. Happy gardening!
Hero (Top) Feature Image: © GalinaSt / Adobe Stock
Additional Images Courtesy: Melissa Beveridge
 Melissa Beveridge is a 200 hour registered yoga teacher, certified integrative health coach, aspiring gardener, and writer in Monmouth County. She’s passionate about sharing her lifestyle and combining her love of food, health, and wellness into her writing. Follow her adventures through New Jersey at MBeeWell.com.
You can also find her on Twitter @MBeeWell, and on Instagram @mbeewell.


