


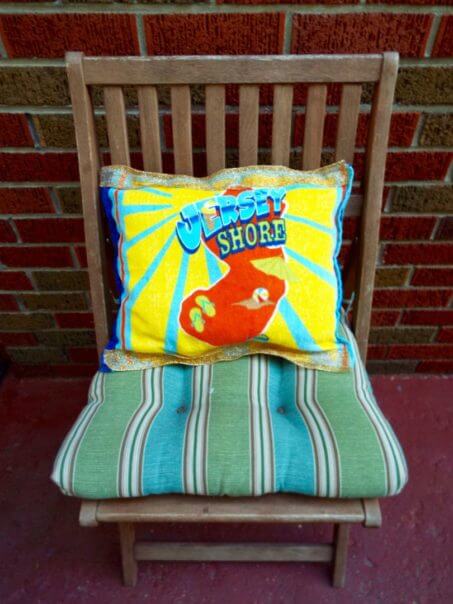
New Jerseyans have great pride for their state, which sometimes gets a bad rep. Residents have heard it all, including those awful jokes from New Yorkers and the label as the armpit of America. But being Jersey strong means ignoring the haters and promoting the Garden State. Right? Why wear your pride when you can cuddle it as a throw pillow?
One way residents can flaunt their state pride is to incorporate NJ-themed design elements into their home décor. The easiest way to do this is with cute and comfy throw pillow sporting state symbols. Think George Washington Bridge, a New Jersey map, Lucy the Elephant, the Jersey Devil or images of the Jersey shore. It’s simple and makes a big statement. We’ve outlined seven simple steps below to make your own throw pillow at home:
[bibblio style=”bib–row-3 bib–hover bib–white-label bib–font-arial bib–default bib–size-16 bib–shine” query_string_params=”eyJ1dG1fc291cmNlIjoiQmliYmxpbyIsInV0bV9tZWRpdW0iOiJNb2R1bGUiLCJ1dG1fY2FtcGFpZ24iOiJSZWNvbW1lbmRhdGlvbnMifQ==” recommendation_type=”optimised”]
1. Gather Materials
To create your pillow, first gather the following items:
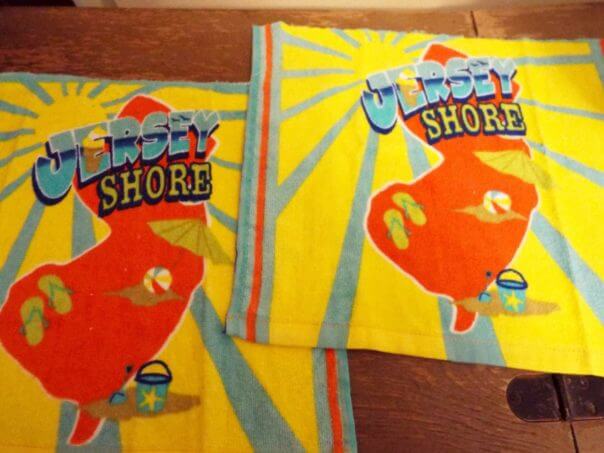
- Fabric with New Jersey symbols or wording on it (a dish towel or scarf works, or use a piece of material you’ve created with iron-on letters, a sewn patch or fabric paint)
- Sewing scissors (they need to be sharp, so you can cut precisely and with little fraying)
- Stuffing or a pillow form
- Thread (in an optimal color)
- Pins
- Optional accessories (beads, ribbon or other details you’d like to add to the pillow)
- Sewing machine (you could also sew it by hand, but it would be more challenging)
2. Cut the Fabric to Size
You’ll need enough fabric to cover the form and display the entire image that you’ve chosen. For the pillow in these photographs, you can simply cut the dishtowel in half, so that the design will appear on both sides. Alternatively you could turn these pieces of fabric into two pillows by getting two plain pieces of fabric for the backsides. (You will also need another piece of fabric for the back if your Jersey design isn’t big enough to cover both sides.)
3. Pin the Fabric
Make sure to pin the pieces of fabric and any details to each other so they don’t shift as you sew. Just be careful not to sew the pins to the fabric. Remember to remove the pins as soon as you have made your stitch. You don’t want to pinch anyone who decides to lean or sit on your pillow!
4. Sew your Pillow
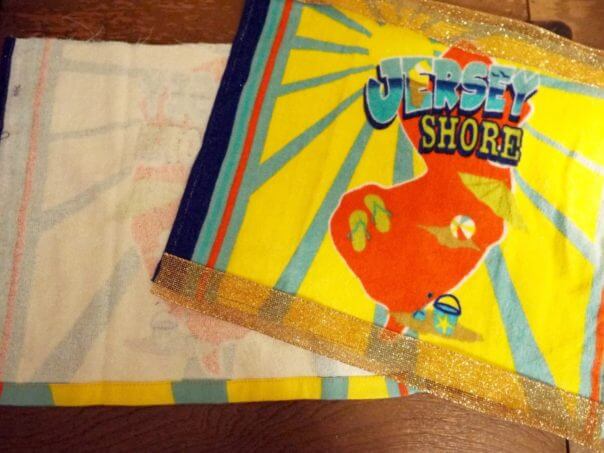
In this example, the metallic ribbon trim was sewed to the front of the pillow first. Then, the two pieces of the dishtowel were placed back-to-back and stitched along the sides to close. (Be sure to leave one side of the pillow open so you can add filling.) Choose a fancy stitch in a brighter color for added pop or use a forgiving color thread if you’re not the straightest sewer.

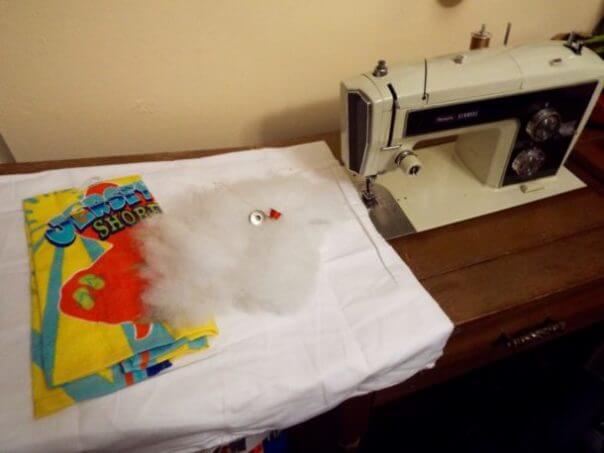
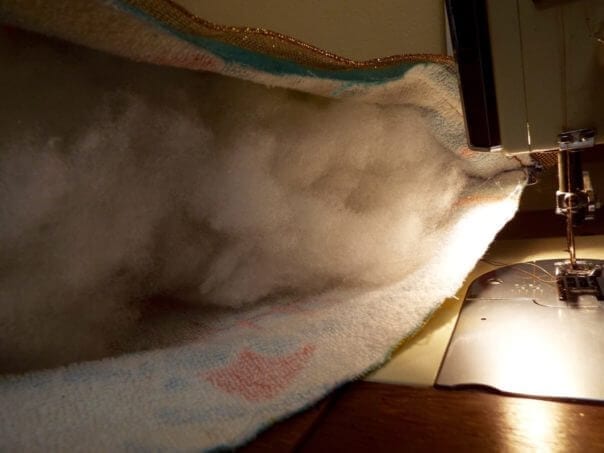
5. Stuff the Pillow
Place the stuffing into the pillow a little bit at a time. Spread it around and make sure you have a nice, even fill. You want to avoid lumps so your pillow looks and feels great.
6. Sew the Final Side Closed
Hold down the stuffing with one arm so that you can keep the seam straight. Sew up the open side to complete the pillow.
7. Trim the Strings
After you sew any project, you’ll find random strings all over the place. Trim those and then your pillow is ready! Place it on a bed, chair or sofa to display your Jersey pride to family and friends.
All Photos: © Francesca Di Meglio


